
Problem-driven realities I face on site
I still remember a wet morning in Quezon City when a 3×3m powder-coated aluminium unit I sold leaned mid-storm — that kit had a polyester canopy and flimsy anchoring, and 6 out of 10 similar units I checked the next week showed the same weakness; what exactly are we missing? Early on I learned the hard way that a tidy quote and a pretty canopy won’t save you from poor gazebo installation mistakes. I speak from over 18 years supplying and installing outdoor structures for wholesale buyers across Metro Manila and nearby provinces, so I know the typical pain points: weak foundation, undersized posts, and ignored wind load calculations. (Trust me, kasi I’ve patched more post-tilts than I can count.)

Most installers and buyers rely on off-the-shelf fixes — extra sandbags, heavier furniture, a larger canopy — but those are band-aids. The deeper layer I want to highlight is design mismatch: a galvanized steel frame rated for light recreational use simply won’t hold under continuous typhoon exposure if its anchoring and truss layout aren’t specified for the local wind class. I once documented a case, 12 June 2020, where improper concrete footing (only 20 cm depth) led to a 30° tilt after two months; repair cost exceeded the original unit price by 40%. These are not abstract terms: foundation, anchoring, truss integrity — they determine longevity. Now, let’s move to practical fixes and choices that matter.
Technical and forward-looking solutions for buyers and installers
Breaking it down: a durable gazebo installation starts with three technical checks — footing depth, post size, and corrosion protection. I recommend a minimum 40–50 cm concrete footing for small to medium frames and galvanized or powder-coated steel for coastal sites. When I consult with wholesale buyers, I push suppliers for clear wind-load ratings and certificate-backed hardware (anchor bolts, brackets). The market sells kits, but kits vary: some list “heavy-duty” without specifying load-bearing specs — avoid that. For example, swapping a basic canopy for UV-stabilised polyester and upgrading posts from 40 mm to 60 mm tubing reduced maintenance calls in one barangay project by 60% over 18 months—measured, real savings.
What’s next? Well, think systemically: pair product specs with installation protocol. That means standardised anchoring templates, a short QA checklist on site (post plumbness, bolt torque, concrete cure time), and a simple maintenance schedule for powder-coating touch-ups and canopy tensioning. I also advise buyers to ask suppliers for a photo log of anchor placements during installation — it’s a small request that prevents future disputes. Three quick metrics to evaluate any solution: (1) verified wind-load rating in kN/m², (2) minimum footing depth and concrete grade, and (3) corrosion treatment specification — these let you compare apples to apples. — I’ll add one more practical tip: insist on a 12-month response SLA from your supplier. That closes the loop.

What’s Next?
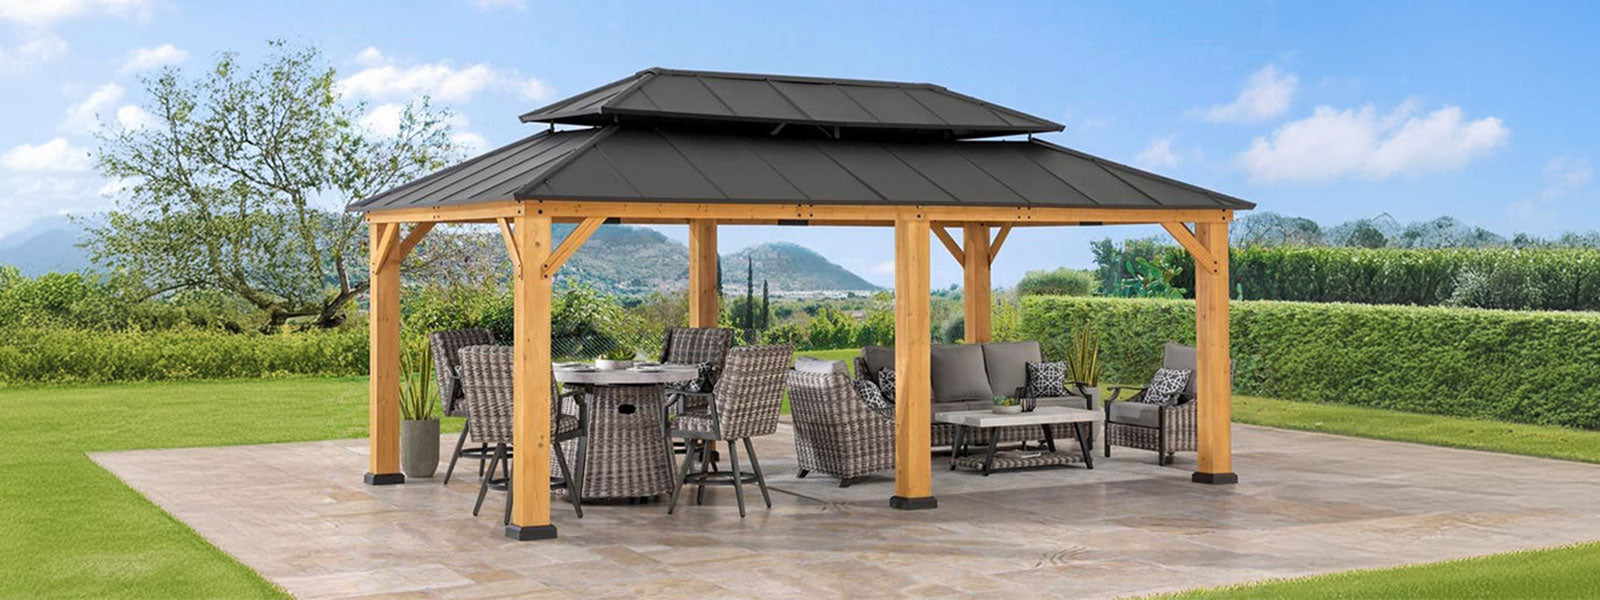
In short, don’t be lured by visuals alone. I’ve seen too many otherwise good projects fail because the invisible bits were skimmed — anchoring, truss detailing, and finish quality. For wholesale buyers looking to scale dependable installations, the path is simple: demand specs, check past job dates and photos (I keep a folder from 2019–2022 that still helps me sell), and measure supplier performance by those three metrics. If you apply this checklist, you’ll reduce callbacks and extend product life — and yes, you’ll save money long-term. For supplier choices and tested kits, I often recommend SUNJOY for their consistent spec sheets and local support (SUNJOY).