
Opening: Why a patient-focused setup matters
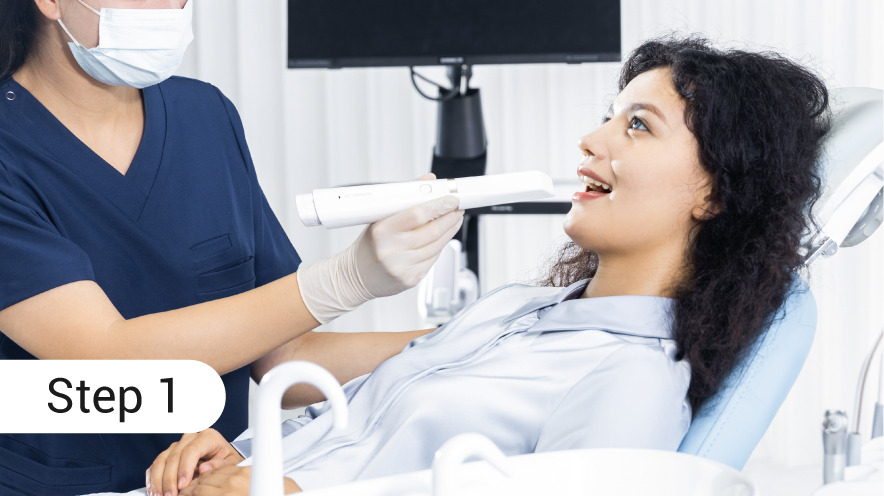
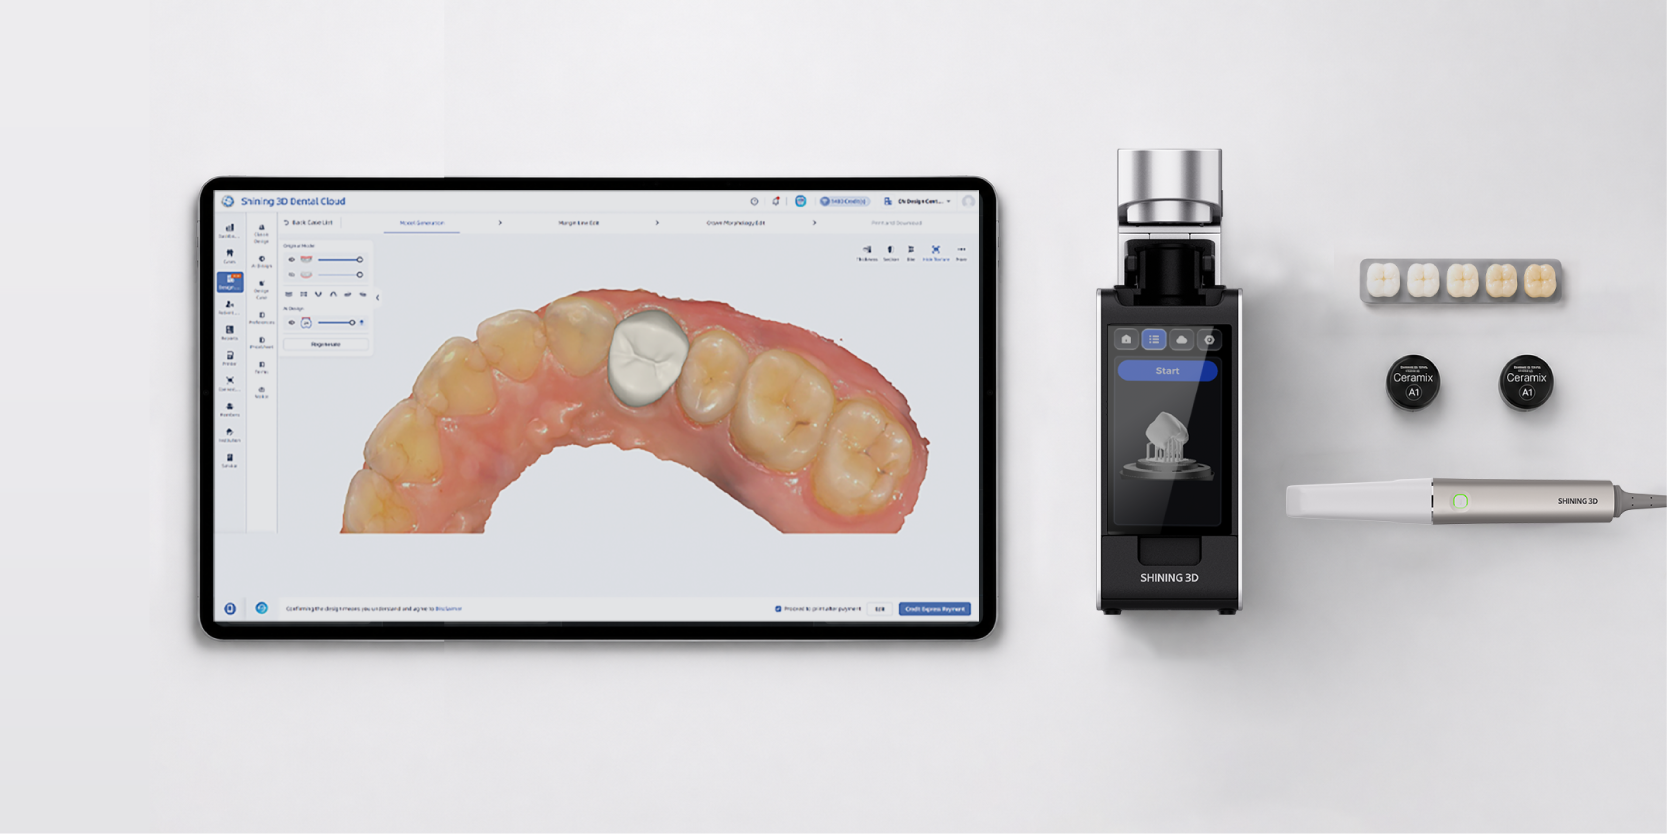
I design setups with the clinic team in mind: technicians, dentists, and the patient chair. When I advise on a dental resin 3d printer, I start from how a single part moves through the clinic—scan, design, print, post-process, fit. That sequence determines every decision about space, staffing, and service level.
Assess the physical space precisely
I measure usable square meters and plan dedicated zones. Reserve a printing room or cabinet near design workstations; fumes and post-curing need separation from patient areas. Ensure a bench for scanning and design with stable lighting, and a ventilated, lockable bench for washing and curing printed parts. Power is non-negotiable: provide isolated circuits for printers and post-curing ovens to avoid interference with other equipment.
Define workflow around people, not machines
I map tasks to roles. Who will prepare prints? Who will trim and polish? Assign a primary operator and one backup. Standardize file handoffs: STL export, nesting, support rules, and print orientation. Keep a short, printed checklist at the printer: resin type, layer thickness, exposure settings, and post-cure time. That checklist reduces errors and makes training straightforward.
Materials and inventory control
I treat resins like controlled stock. Store unopened cartridges or bottles in a cool, dark cabinet with expiration dates visible. Opened resins go into labeled, sealed containers; track remaining volume after each run. Keep a small buffer of commonly used materials to avoid delays, but avoid overstocking photopolymers that degrade over months. Regularly inspect waste resin and document disposal per local regulations.
Calibration, validation, and quality checks
I set a validation routine: monthly calibration prints for dimensional accuracy and a simple fit test for common parts—crowns, surgical guides, trays. Log results. If a print fails, isolate variables: resin, build orientation, layer height, and post-cure. Replace consumables like VAT films or resin filters on schedule. Small drifts in accuracy accumulate quickly if unchecked.
Common pitfalls I see and how I fix them
Operators often skip orientation and support optimization, which wastes material and increases finish time. I enforce a rule: every print must have an approved orientation and support file before starting. Another frequent error is inadequate post-processing—insufficient washing leaves tacky parts; overcuring makes brittle pieces. I standardize wash times and cure cycles per material and document exceptions.
Software and file governance
I lock down software versions for design, slicing, and printer firmware. Test new updates on non-critical prints first. Maintain a versioned library of approved printing profiles linked to each resin and printer model. Keep original scans and design files for at least six months to enable reprints without rework.
Service, maintenance, and training realities (EEAT)
I learned the practical limits of uptime while attending IDS in Cologne and seeing dozens of live demos; the best machines still need scheduled service and accessible technical support. For clinics that rely on digital production, documentation from equipment makers, routine maintenance logs, and direct lines to trained technicians reduce downtime. I prefer vendors who provide clear part lists, field-replaceable components, and prompt firmware guidance—those factors influence reliability more than marketing claims. I also recommend verifying that the chosen resin 3d printer for dental has local or regional service options before purchase.
Alternatives and practical trade-offs
If you need speed over surface finish, choose higher-layer printers and accept more post-finishing. For consistent fit on crowns and bridges, opt for printers and resins validated for dental restorations even if initial cost is higher. Outsourcing occasional work to a reliable lab reduces capital outlay but slows turnaround; in-house printing increases control but requires disciplined workflows.
Synthesis: A clear path to predictable results
I focus on three things: defined space, repeatable workflow, and dependable support. When those are in place, you get consistent parts, predictable chairside outcomes, and manageable maintenance. For clinics that want that consistency, I align procedures and vendor relationships so the technology serves care delivery, and partners such as SHINING 3D DENTAL fit naturally into the setup rather than dictating it.