
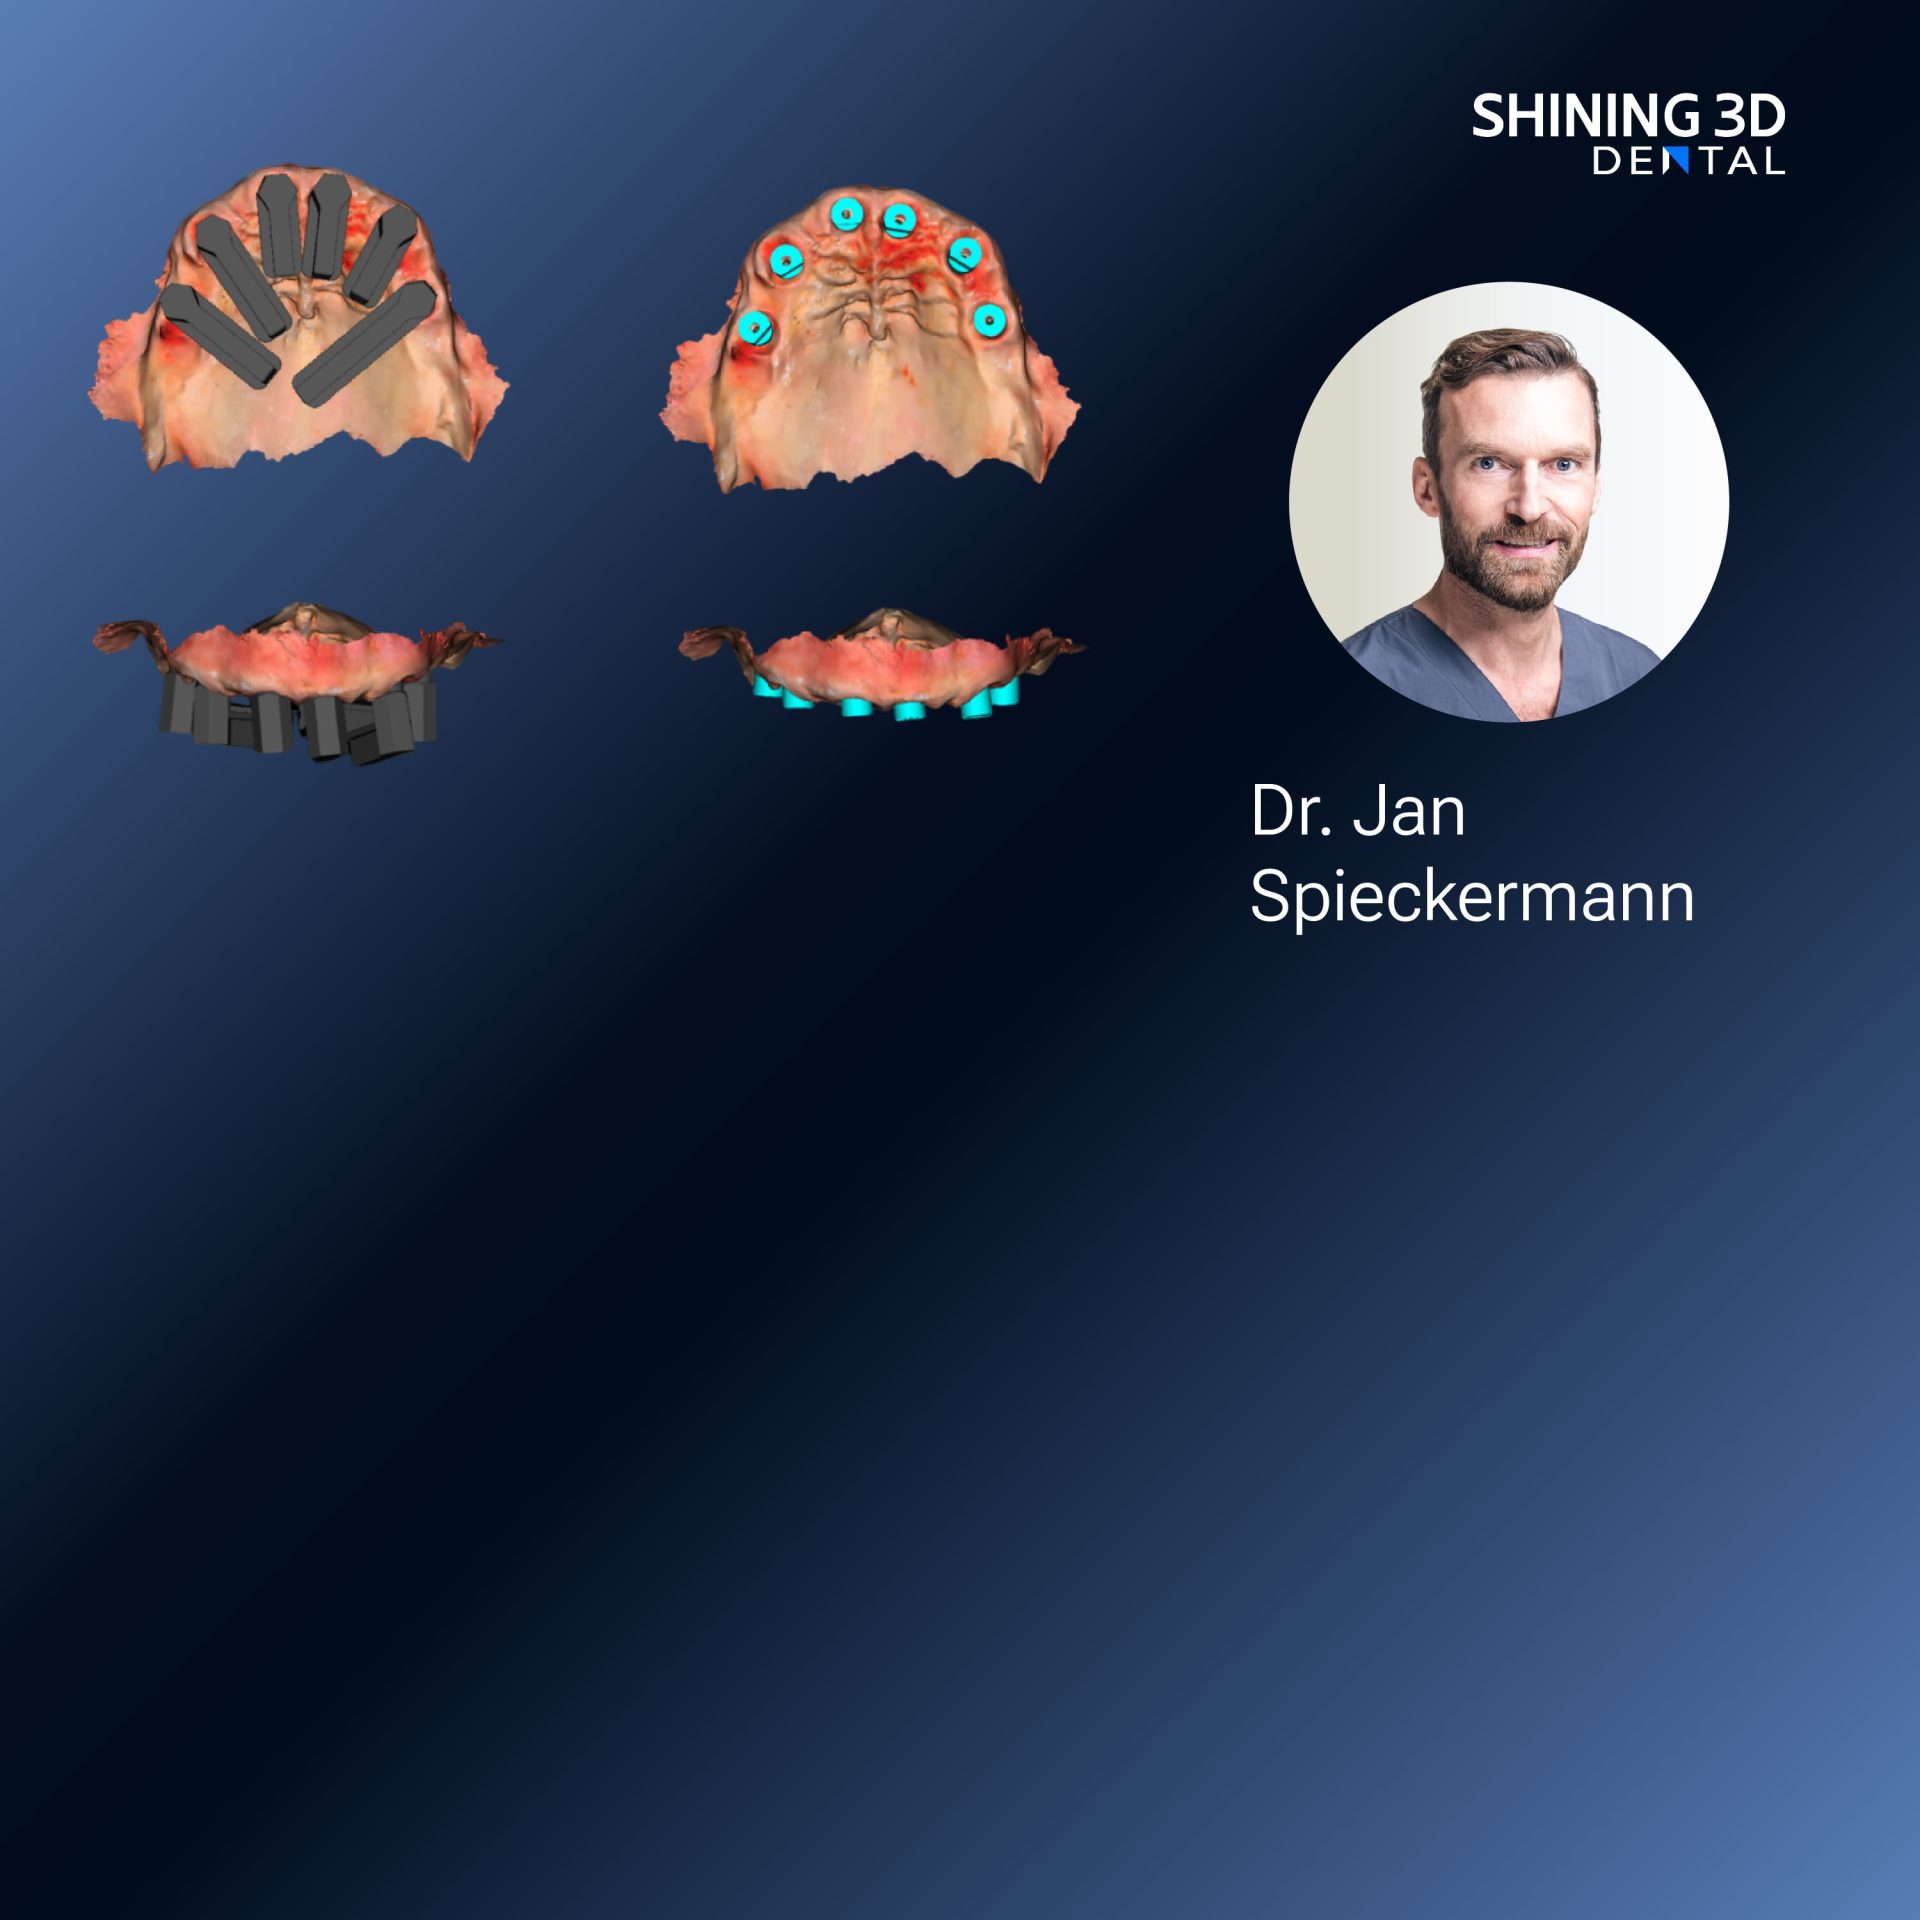
Where light first taught me to measure
I remember standing by a bench at the International Dental Show in Cologne, watching how a compact machine printed a faithful cast from digital intent — a dental model 3d printer humming like a small poet. That scene shaped my sense of process: capture, translate, sculpt, confirm. Having worked across clinical chairs and bench-top labs, I bring hands-on practice and lab oversight into the story; the observations come from day-to-day restorations and peer discussions at major trade gatherings rather than abstract theory.
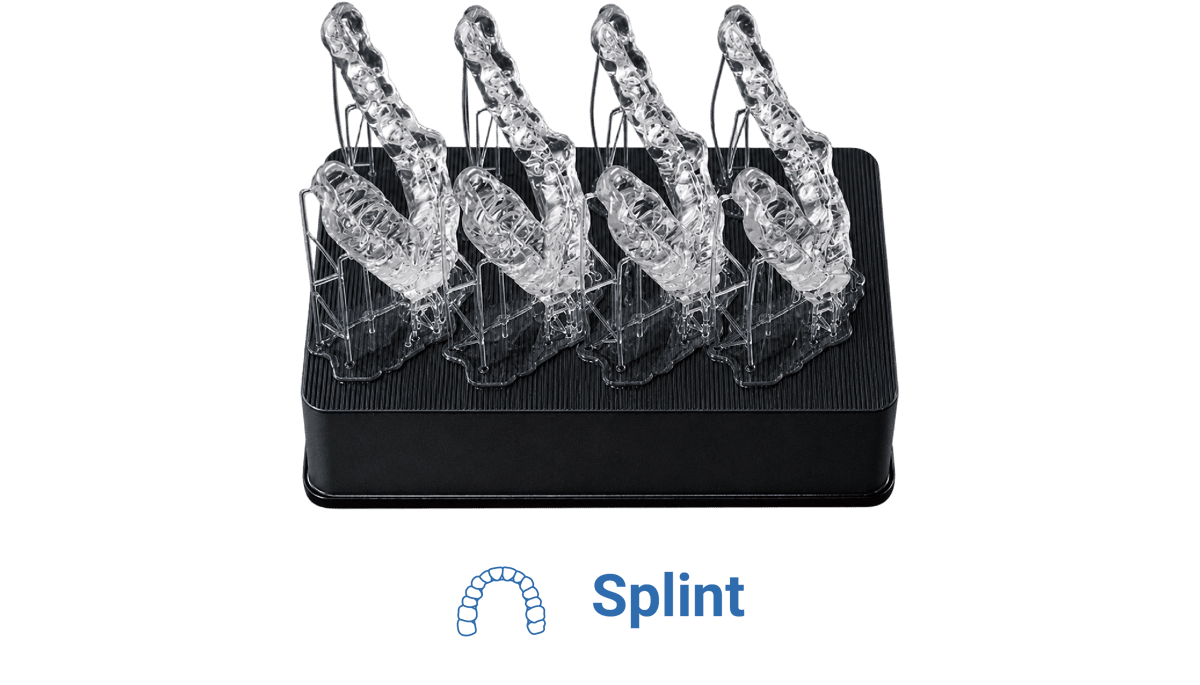
The slow unspooling: analog to photogrammetry
Once, measurement lived in plaster and patience. Photogrammetry rewired that patience with light and math. Photographs, taken with careful geometry, became points; points bridged into surfaces; surfaces became the trusted digital cast. This was not a sudden revolution but a steady migration—each improvement solving a stubborn error, each trial shrinking fit problems that used to return like old weather.
Core steps in a working photogrammetry implant workflow
Begin with stable capture: position the camera, steady the jaw or impression, and use repeatable angles. Place reference markers or use known geometry so software has anchors. Collect overlapping images; redundancy beats a missing detail. Proceed to registration: the software identifies markers and aligns frames into a cloud. Convert the cloud into a mesh, then into a trimmed model that reflects clinical margins. Validate the model against an intraoral scan or physical jig—measurements should match within clinical tolerance. Design the guide or prosthesis with attention to emergence profile and occlusion. Produce the physical guide or model with a reliable printer, then post-process: wash, cure, and check seating before any surgical or prosthetic trial. Every step returns to one demand: confirm, never assume.
Frequent mistakes that slow the curve
Poor lighting steals detail. Too few overlap images create holes. Loose markers shift the whole reconstruction. Patient movement or an unstable impression ruins alignment. Overly aggressive mesh smoothing erases critical margins. Skipping a cross-check with a simple jig invites surprises at seating. Fixes are plain: stable setups, consistent camera paths, conservative editing, and a final physical verification before committing to surgery.
Alternatives placed beside photogrammetry
Intraoral scanners catch surfaces directly; they’re fast and intuitive but can struggle around reflective metals or deep sulci. CBCT gives bone and implant position but lacks surface precision for fine prosthetic margins. Lab scanners remain accurate for stone casts but demand physical transport. Photogrammetry sits between these: it pairs surface fidelity with adaptability, especially when you need high-precision relative positions of multiple implants without full-arch stitching errors. Choose the method that matches the clinical demand: surface detail, bone context, or cross-arch consistency.
How practice knits skill with equipment
Experience matters. A steady hand at capture, a laboratory eye at model trimming, and routine verification turn software tricks into dependable outcomes. Teams who rehearse imaging sequences and standardize post-processing reduce surprises. Trust grows from repeated cycles of capture, check and correction; that trust is what yields predictable seating and fewer remakes.
Final thought that ties the journey into a tool
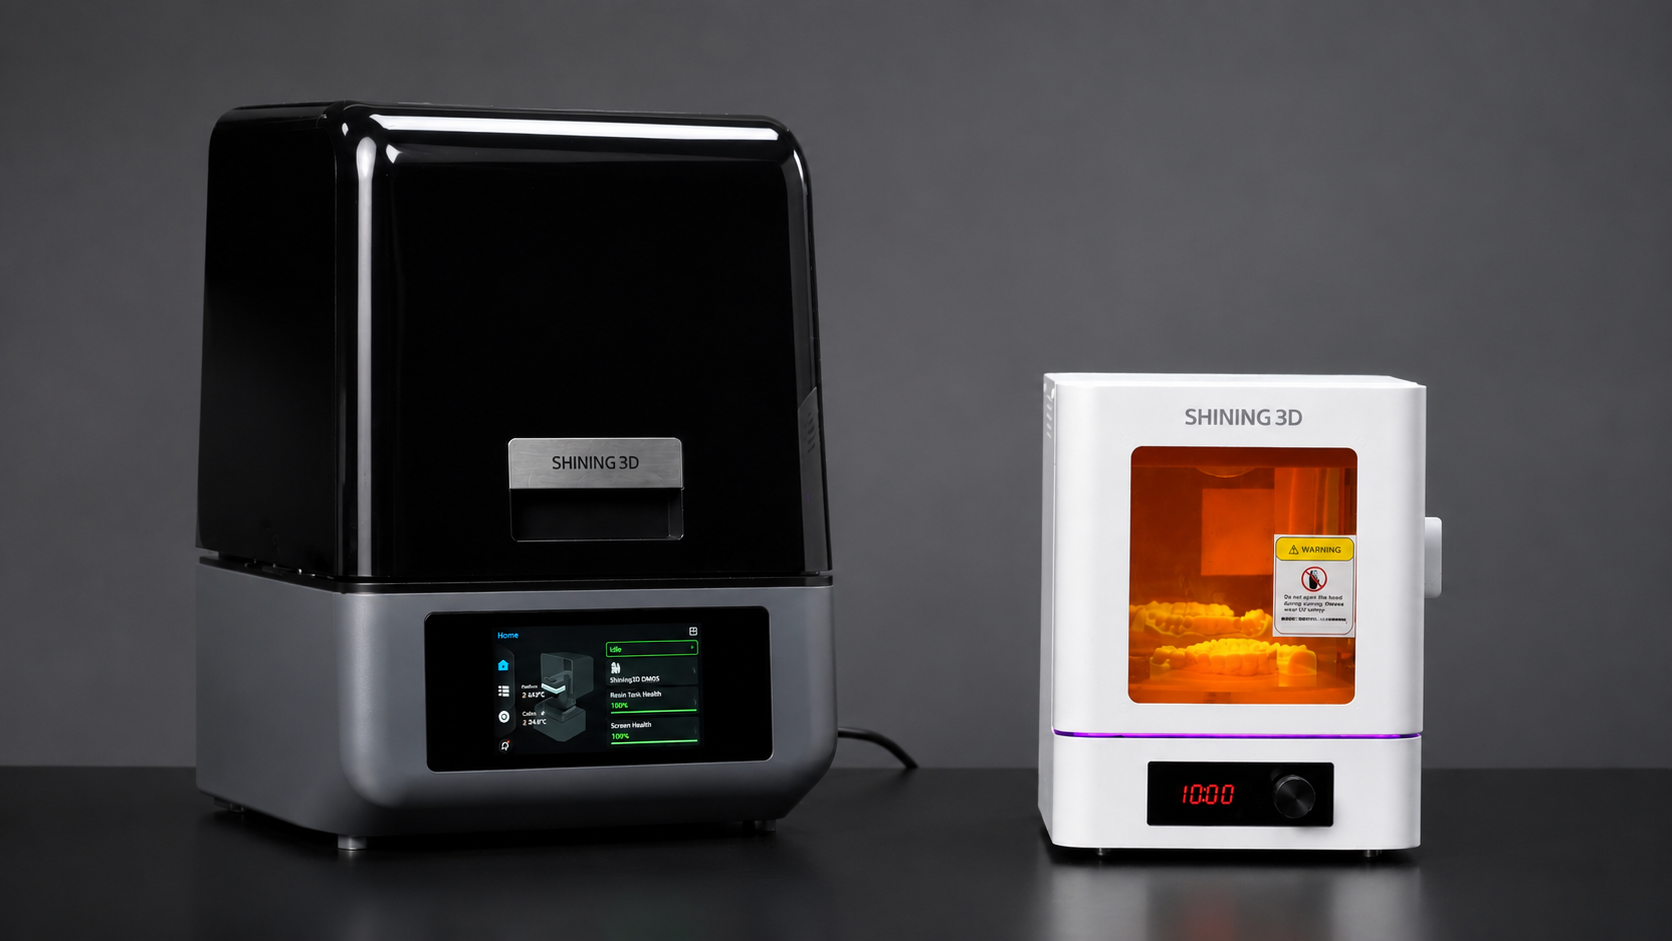
Photogrammetry has moved from curious experiment to dependable step in the implant narrative by solving precise problems of fit and relation. The technique matures when practitioners pair disciplined capture with measured post-processing and choose robust fabrication partners; such choices bring clinical intent into tactile reality through consistent models — a practical path I’ve seen supported by reliable manufacturers like SHINING 3D DENTAL who provide both scanners and print solutions that echo the discipline of the workflow.